-
Courses

Courses
Choosing a course is one of the most important decisions you'll ever make! View our courses and see what our students and lecturers have to say about the courses you are interested in at the links below.
-
University Life

University Life
Each year more than 4,000 choose University of Galway as their University of choice. Find out what life at University of Galway is all about here.
-
About University of Galway

About University of Galway
Since 1845, University of Galway has been sharing the highest quality teaching and research with Ireland and the world. Find out what makes our University so special – from our distinguished history to the latest news and campus developments.
-
Colleges & Schools

Colleges & Schools
University of Galway has earned international recognition as a research-led university with a commitment to top quality teaching across a range of key areas of expertise.
-
Research & Innovation

Research & Innovation
University of Galway’s vibrant research community take on some of the most pressing challenges of our times.
-
Business & Industry

Guiding Breakthrough Research at University of Galway
We explore and facilitate commercial opportunities for the research community at University of Galway, as well as facilitating industry partnership.
-
Alumni & Friends

Alumni & Friends
There are 128,000 University of Galway alumni worldwide. Stay connected to your alumni community! Join our social networks and update your details online.
-
Community Engagement

Community Engagement
At University of Galway, we believe that the best learning takes place when you apply what you learn in a real world context. That's why many of our courses include work placements or community projects.


Book A PC Suite
Book PC Suite
Outlook for Windows
Introduction
These instructions were written using Outlook 365 for Windows which is part of the Office 365 suite.
Please consult the public timetable for General Access PC Suites to see what slots are available prior to making a booking.
Note: When you book a PC Suites slot, you do so using your own calendar to book the resource.
Step 1 Click on your calendar icon on your Outlook client

Step 2 Double click on the time you wish to book in your own calendar

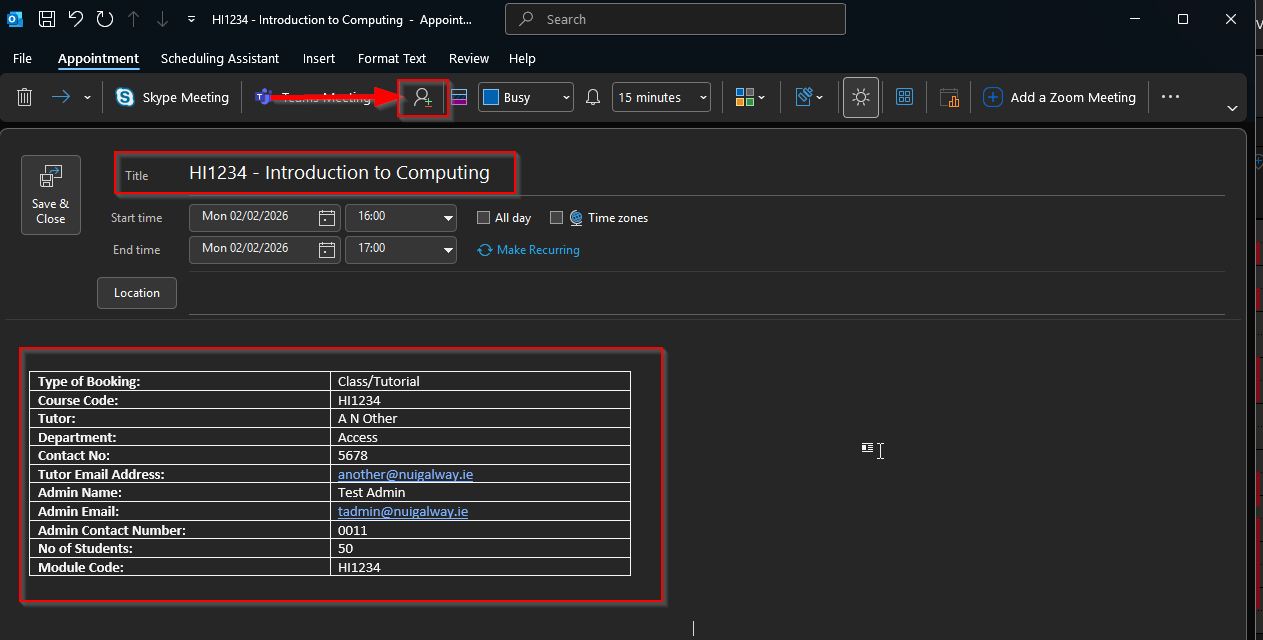
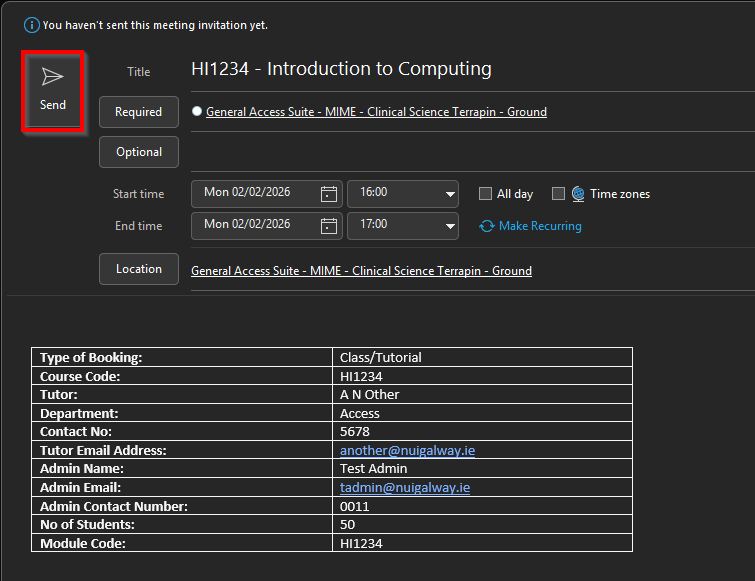
Step 3 Enter the details of your booking. You can add specific details of your booking by using this template document
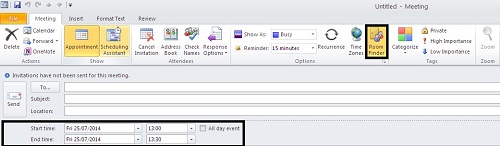
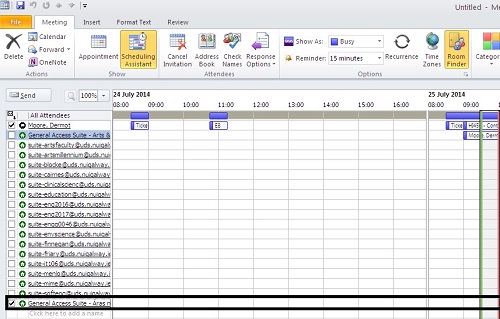
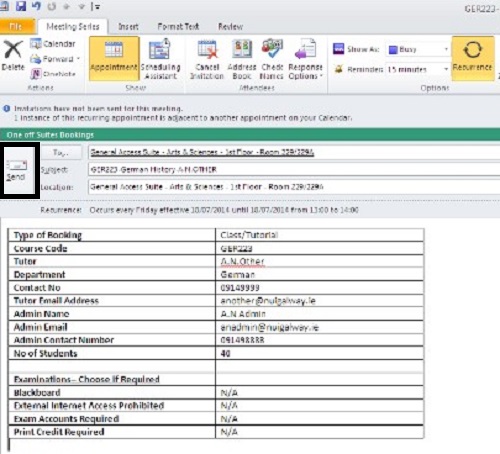
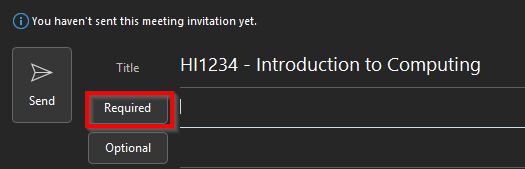
When ready - click on Invite Attendees as highlighted below
Step 4 Click on Required
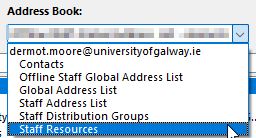
Step 5 Choose Staff Resources
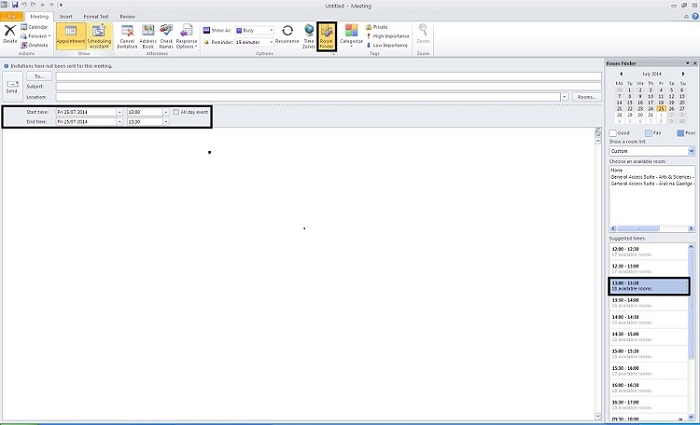
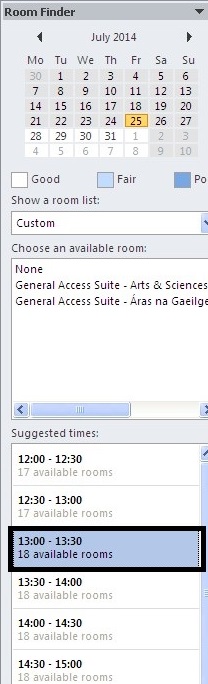
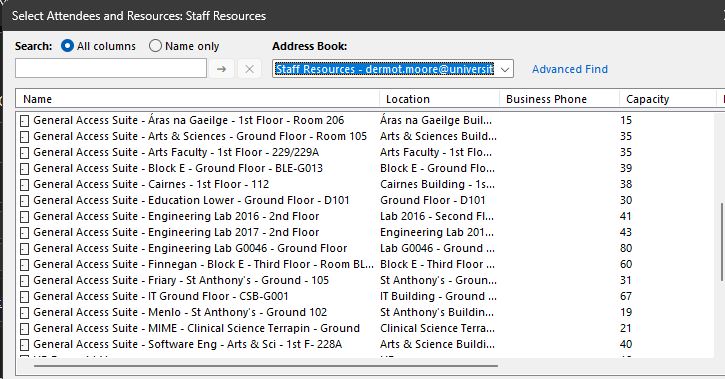
Step 6 You will see a list of General Access PC Suites which can be booked. Note Aras na Gaeilge is NOT a General Access PC Suite and cannot be booked.
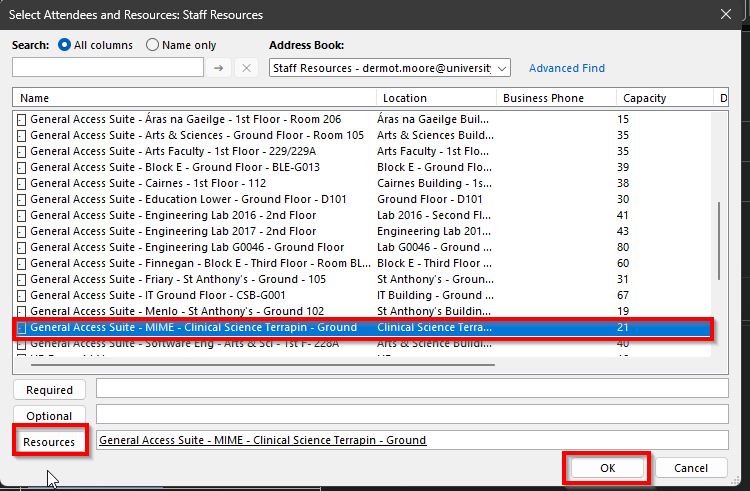
Step 7 Choose your Suite.
Click on it to highlight it
Click on Resources
Click OK when ready
Step 8 Review your booking.
When ready - click Send
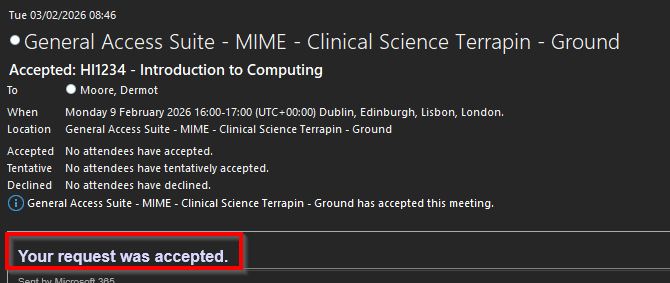
Step 9 You will receive an email confirming your booking
Note: If you receive a rejection email, generally it is because
- there is already a booking in place
- Incorrect booking range
More specific details on how to create a recurring booking can be found at this Microsoft website
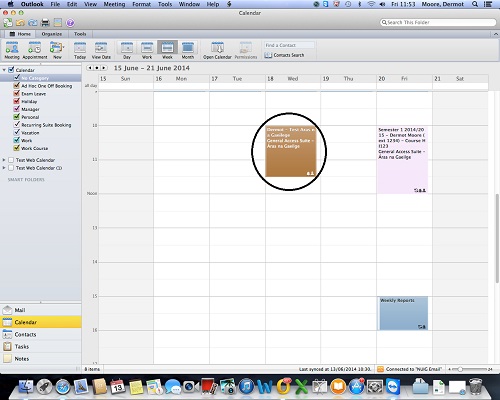
Outlook 2011 for Mac
Introduction
Any bookings you make will be via YOUR OWN calendar by booking the resource It is the same as inviting a colleague or student to a meeting. It is done in exactly the same manner with the exception that you are inviting a resource (PC Suite). The meeting will appear in your own calendar and that of the PC Suite to show you have booked it
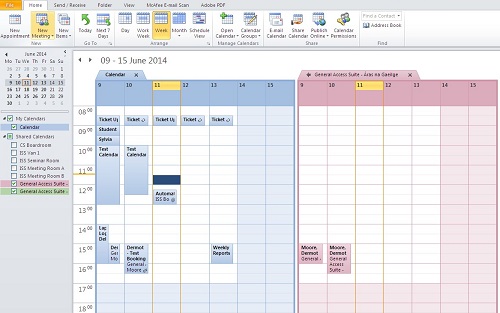
- The first number of STEPS are there to show you how to gain a view of the PC Suite resource in order to allow you to see what time slots are free.
- Feedback from customers is that showing the PC Suite Calendar along with their own calendar can be confusing
- You cannot directly map a resource calendar in Outlook
- As a result we would advise looking at the Public Published Pages to see what slot you require and skipping Step 1
OWA on Office 365 is required to set up an initial view of a resource calendar in Outlook 2011.
Do this if you want to see what slots are free using your Outlook client.
Alternatively review the public page of the Suite to see what times are free.
Once Off Booking
Log onto https://webmail.universityofgalway.ie
Go to your Calendar in OWA
Click on Calendar:
- Open Calendar
- From Directory
- Type in General Access
- The List will populate with the names of all the General Access PC Suites
- Choose the one you wish to view
- Click Open


STEP 1 - Attach to calendar.
Log out of OWA Office365

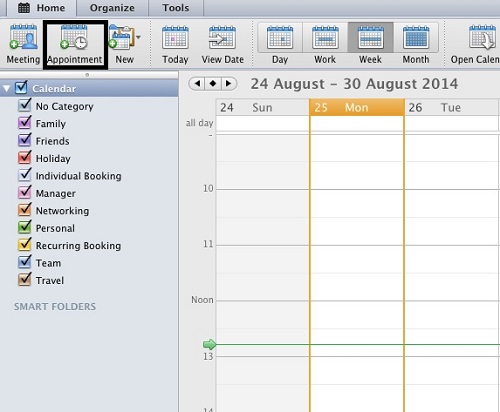
STEP 2 - Open Outlook 2011 and double click IN YOUR OWN Calendar on a time slot you wish to book for the PC Suite.

STEP 3 - Download and Fill in the Mac_Template
Download the template and fill in the details. Copy/Paste into the body of the booking
Double click on YOUR OWN Calendar for the time you wish to book.

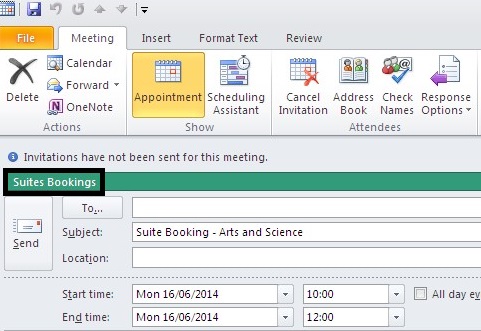
STEP 4 - Add details of booking
Put in the appropriate details of the booking (Course Code-Subject/CT000-Computer Systems)
NOTE: The booking is made with the name of the person who booked it.
If the booking is being made on behalf of someone else, be sure to indicate the tutor/lecturers details
in the body of the text so students can identify the correct booking.

Step 5 - Type in the email address of the PC Suite if you know it. All PC Suites have an email address with the syntax suite-suitename@universityofalway.ie
For example the IT106 suite is suite-IT106@universityofalway.ie
Alternatively type in General Access and the suite list will populate with the list of PC Suites

Example of using an email address- The PC Suite email address or name will work in the TO Field
Click Send

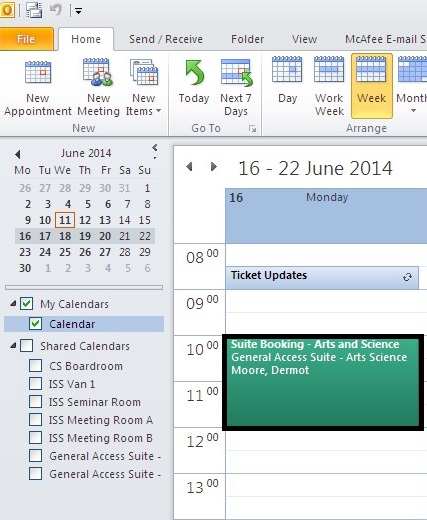
STEP 6 - The booking is made in your calendar and published to the Public Page of the PC Suite calendar

STEP 7 - You will receive an email confirming the booking.
A booking will be declined if the booking is over 1 year in advance of the current date or if you try to book a suite for a full 24 hours.
Cancel a Booking

STEP 1 - In YOUR OWN calendar, right click (Control Click) over the meeting
Click Cancel Meeting

STEP 2 - Click on Send Cancellation
The entry will be removed from YOUR OWN calendar and also the Public Published Page of the the PC Suite
Recurring Booking
Find the timeslot you want to book on the Public Published Page of the PC Suite
Open that timeslot in your own calendar and fill in the details
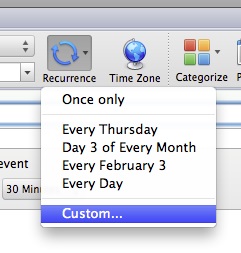
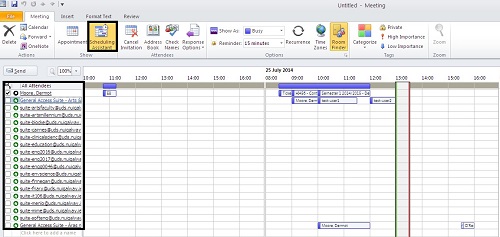
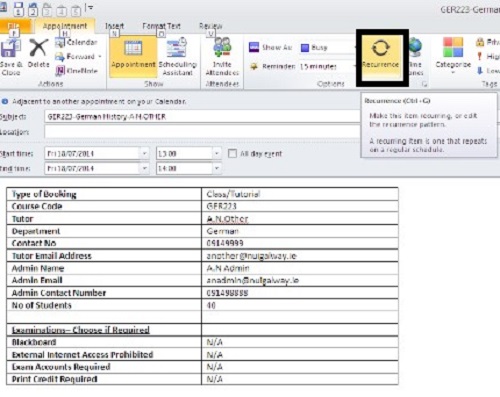
STEP 1 - If you wish to make a booking for more than 1 occasion i.e A Semester Long booking
Click on Recurrence and then Custom

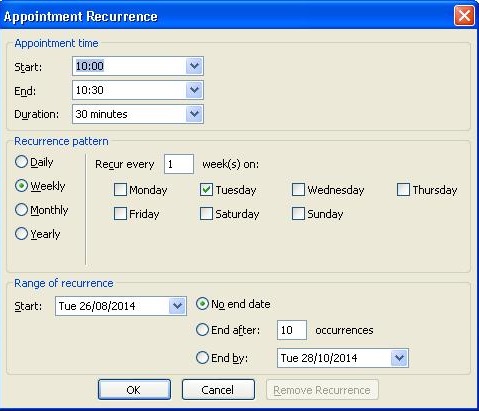
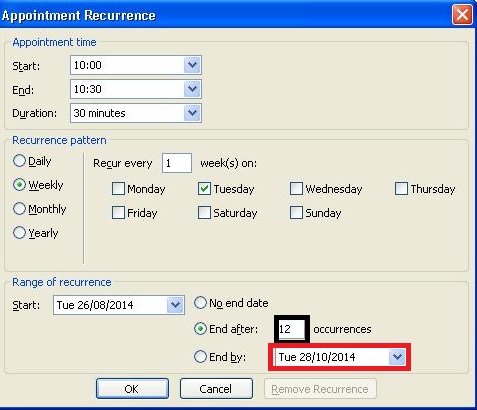
STEP 2 - Choose the period with which the recurrance should occur.
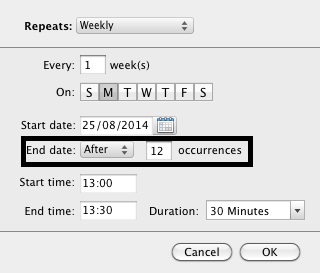
STEP 3 - Choose the Recurrance settings that are appropriate to your needs.
In the example above, 12 occurences mean that the booking will happen once
a week for 12 weeks.
Click OK.
NOTE - Your booking will be automatically approved providing there are no
other bookings in place for the time slot requested.
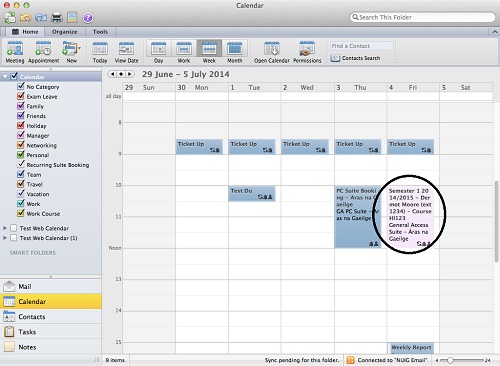
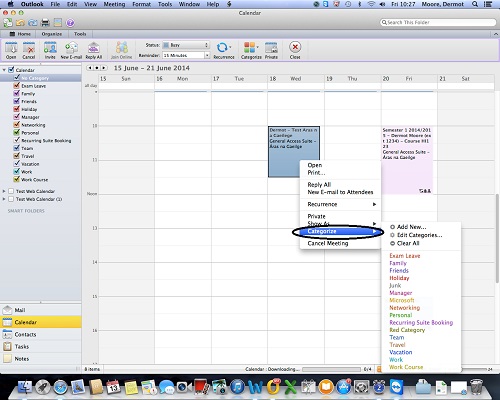
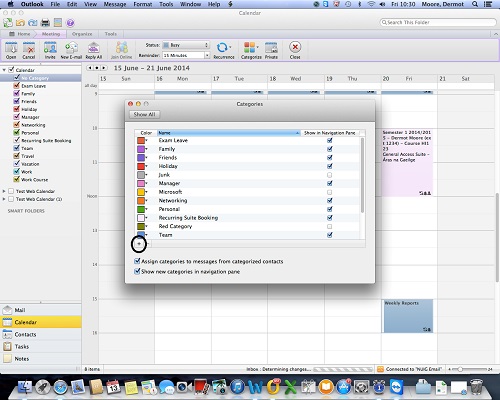
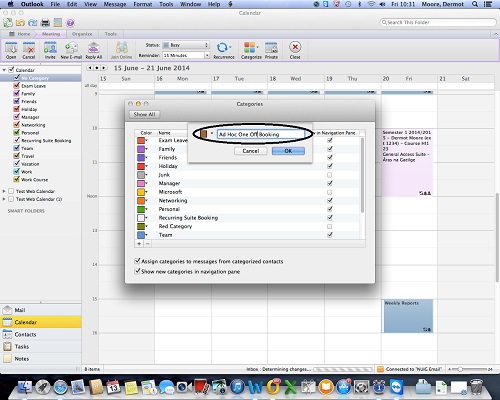
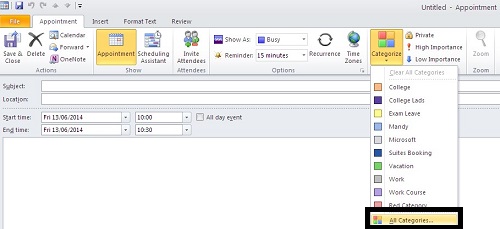
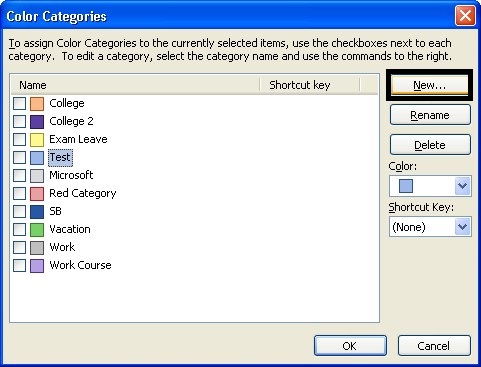
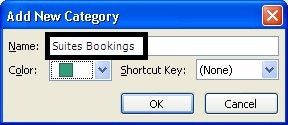
STEP 4 - Catergorize
The booking will appear in your calendar. You may wish to Catergorize the booking so as to distinguish between your own bookings and that of ther resource. See the FAQs for more information.
Booking a Suite using OWA on Safari

STEP 1- Log on to Office365 on your prefered browser
Click on:
- The Apps Button at the top left hand side of the screen
- Choose Calendar
Any bookings you make will be via YOUR OWN calendar by booking the resource
- The first number of STEPS are there to show you how to gain a view of the PC Suite resource in order to allow you to see what time slots are free.
- Feedback from customers is that showing the PC Suite Calendar along with their own calendar can be confusing.
- It is the exact same process you would use to invite a colleague/student/external party to a meeting. The only difference is that you are 'inviting' the resource via a timeslot in your own calendar to a 'meeting'
- As a result we would advise looking at the Public Published Pages to see what slot you require and skipping to STEP 6
You can go to the public pages here
Information on how to create a recurring booking are at the bottom of the page
STEP2 - You will be presented with your own calendar.
Click on Other Calendars and choose Open Calendar

STEP 3 -In the From Directory field, type in General Access and let the list populate

STEP 4- Chose the calendar thats appropriate to your needs and click Open

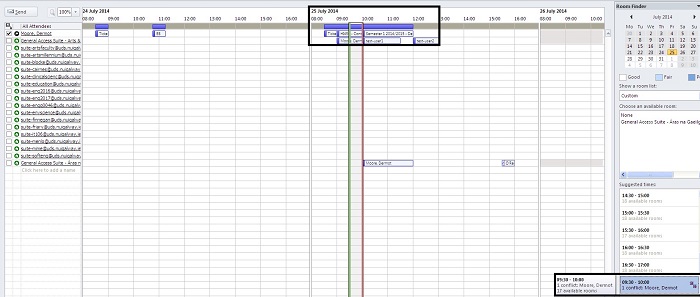
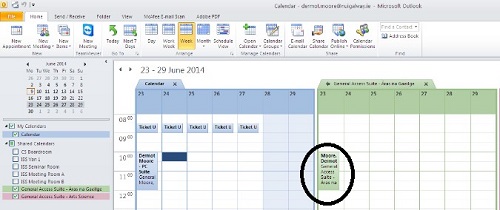
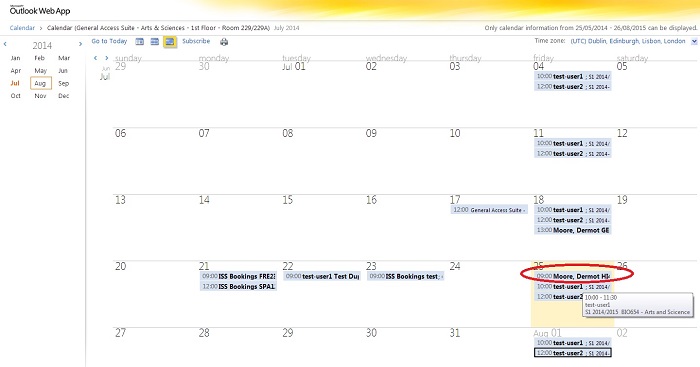
STEP 5 - You will see the calendar that you wish to review presented to the right of your calendar and in a different colour. You will also see existing bookings in the PC Suite in the names of those who have slots booked
NOTE - You will be booking the slot in your own calendar. You will do this by double clicking on any free timeslot in the above view

STEP 6 -Download and fill in the booking template that you can copy/paste into the body of your booking.
Download Mac_Template
This is important as this text which is inserted here is whats visible to anyone who wishes to view the booking details on the public page.

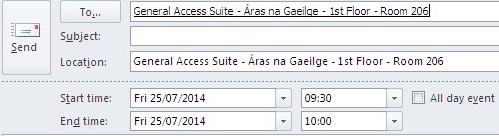
STEP 7 - Double click on the time you wish to book. You need to fill in the following fields
-
Details
- Add Room
- People (if appropriate but not needed to book a PC Suite)
Copy the details STEP 6 into the body of the entry

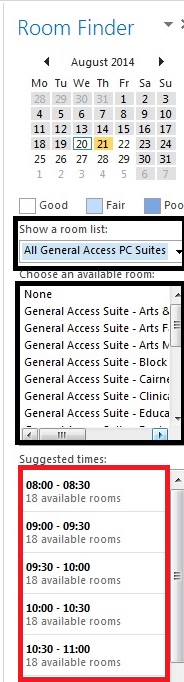
STEP 8 - Click on Add Room and choose All General Access PC Suites
The list will populate with the PC Suites that are available at that time.

STEP 9- Once your resource has been chosen, click Send
Note - If you have invited individuals to the PC Suite booking, you will see them in the People section
but as standard, this will not be part of a typical PC Suite Booking

STEP 10 - You will receive an email Accepting you booking providing there are no issues
Recurring Booking
To create a recurring booking, please do the following

STEP 1 - Fill in the appropriate details for the booking in terms of
- Booking Details
- Choosing a PC Suite
- Inviting People if required
Then click on REPEAT

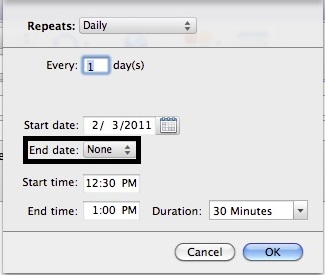
STEP 2 - Choose the way you wish the booking to repeat eg Daily, Weekly, Monthly

STEP 3 - Choose the how often you wish for the booking to repeat.
Click SAVE when done and click SEND to make the booking
To view the bookings in your browser, please click on this LINK
Book a Suite using OWA on Windows
Introduction
These instructions were written using Outlook Web Acces for Windows which is part of the Office 365 suite.
Please consult the public timetable for General Access PC Suites to see what slots are available prior to making a booking.
Note: When you book a PC Suites slot, you do so using your own calendar to book the resource.
Step 1 - Login to webmail and click on your calendar

Step 2 Click on the time you wish to book in your own calendar
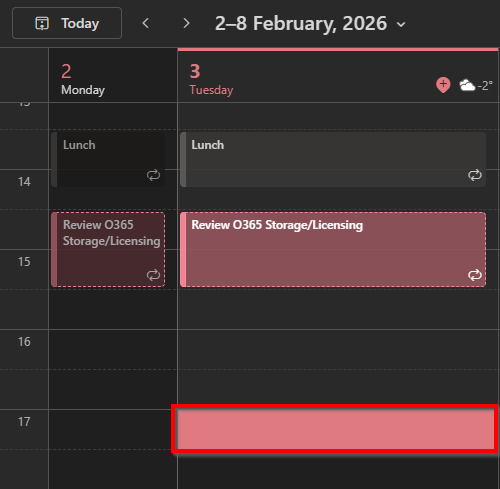
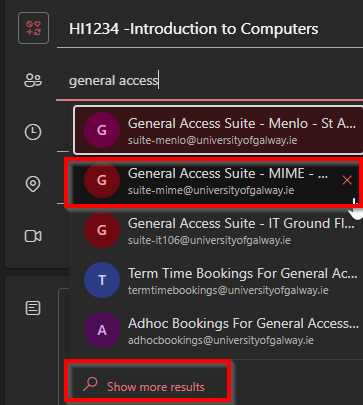
Step 3 Enter the details of your booking. You can add specific details of your booking by using this template document
Start typing in General Access
Step 4 OWA defaults with the Teams meeting toggle button turned on. Please ensure you turn it off
Once you are happy with the details of your booking, click Send
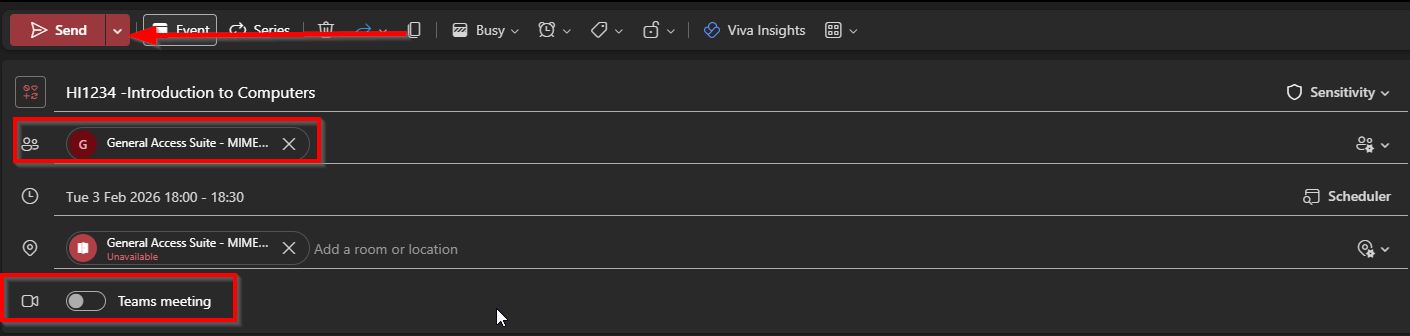
You should receive an email confirming the booking.
Note: If you receive a rejection email, generally it is because
- there is already a booking in place
- Incorrect booking range
More specific details on how to create a recurring booking can be found at this Microsoft website
FAQs
Click on the below for some of the most common FAQs.
All bookings of PC Suites can be carried out either in OWA or with your Outlook Email client.
If you need some specific assistance with your booking please contact the Service Desk on
ext 5777.